Now that the silly season is over it’s time to get back to work on our Volvo 240 GL LS1 project. And for the past few weeks, it’s been very busy getting the more technical side of things done to make the actual V8 engine conversion.
Obviously, us pen-pushers aren’t capable of doing the engine conversion ourselves. So, we had a mechanical engineer do the job for us. Andrew is his name and he has been kind enough to outline the entire process of making an LS1 V8 fit into the engine bay of a 240 GL.
The main component you need for the swap are some engine mounts. These support the engine within the bay. Placing an engine needs to be as precise as possible, while adhering to the shapes and contours of the engine bay itself, the chassis rails, and the cross-member that connects the left and right side of the chassis at the bottom. Basically, the engine mounts are the most important detail in the conversion. Let’s go through the steps taken, as described by Andrew.
Stage 1:
The first stage of designing engine mounts is to locate the engine in the engine bay so that the block and its accessories do not foul on anything. This planning is critical. Positioning the engine incorrectly could result in extra unnecessary work later down the track, such as modifying cross-members, enlarging transmission tunnels, cutting oil sumps, relocating steering racks and so on.
Ideally, we would like the engine to sit as low as possible to allow us to fit both automatic and manual transmissions within the tight transmission tunnel. This requires more clearance between the engine cross-member and the base of the LS1 engine block. So, a replacement sump with the oil basin at the rear of the engine had to be used. The original Holden LS1 sump features the oil basin at the front of the engine where the Volvo engine cross-member is currently located.
A substitute car and a damaged L98 block was used for positioning the engine in the bay. The engine was positioned far enough forward so that the transmission bellhousing bolts were still accessible, which is commonly overlooked in many engine swaps.

Stage 2:
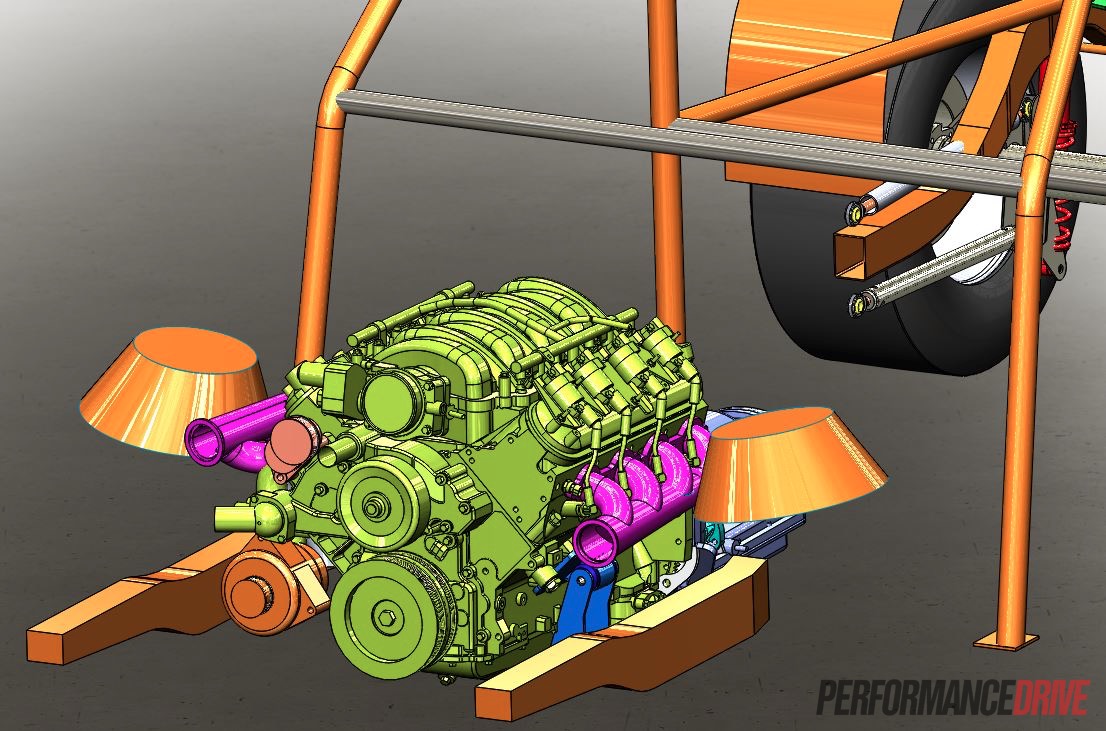
Designing the engine mounts in CAD (computer-aided design) allows for correct orientation and placement. The great thing about CAD software is that you can try many different designs and installations at no real cost, while still ensuring maximum precision. This allows for only the best possible design to make it to the fabrication stage. See below for the CAD image. The engine mounts are coloured in blue.
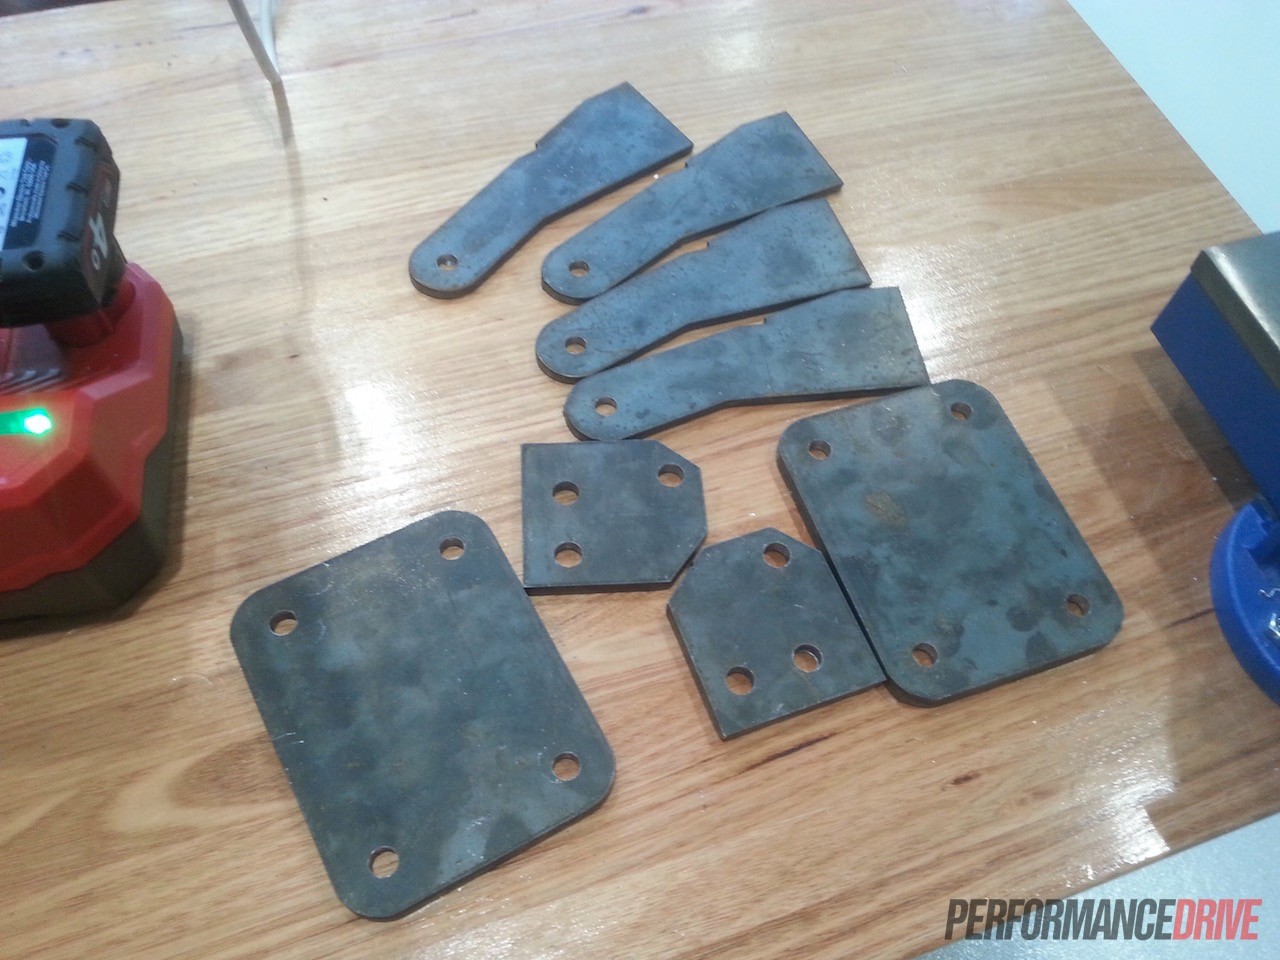
The 2D profiles were exported from CAD so that the plate could be waterjet cut. This machine functions by blowing a mixture abrasive garnet and water through the plate at approximately 60,000psi of pressure. Yes, it will cut you in half.
The water pressure is so great that if the machine stays in one position too long, it will cut through the base of the machine and through the concrete slab supporting it. A benefit of waterjet cutting is that it does not induce thermal shock into the metal, like laser cutting does.

Once cut, the final profile plates are ready for welding.

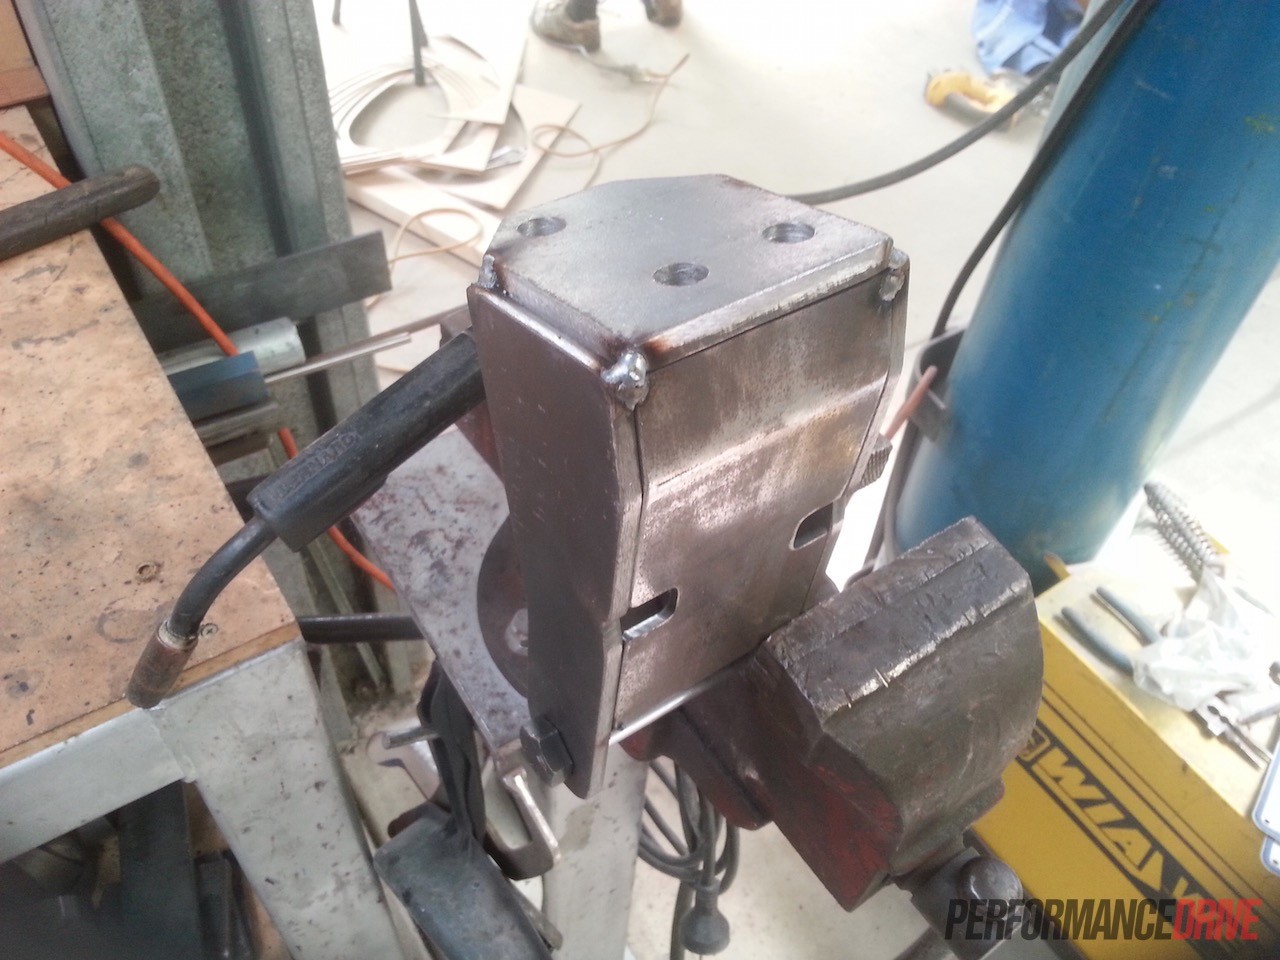
The cross-member mount plates are tacked together to reduce movement during welding.

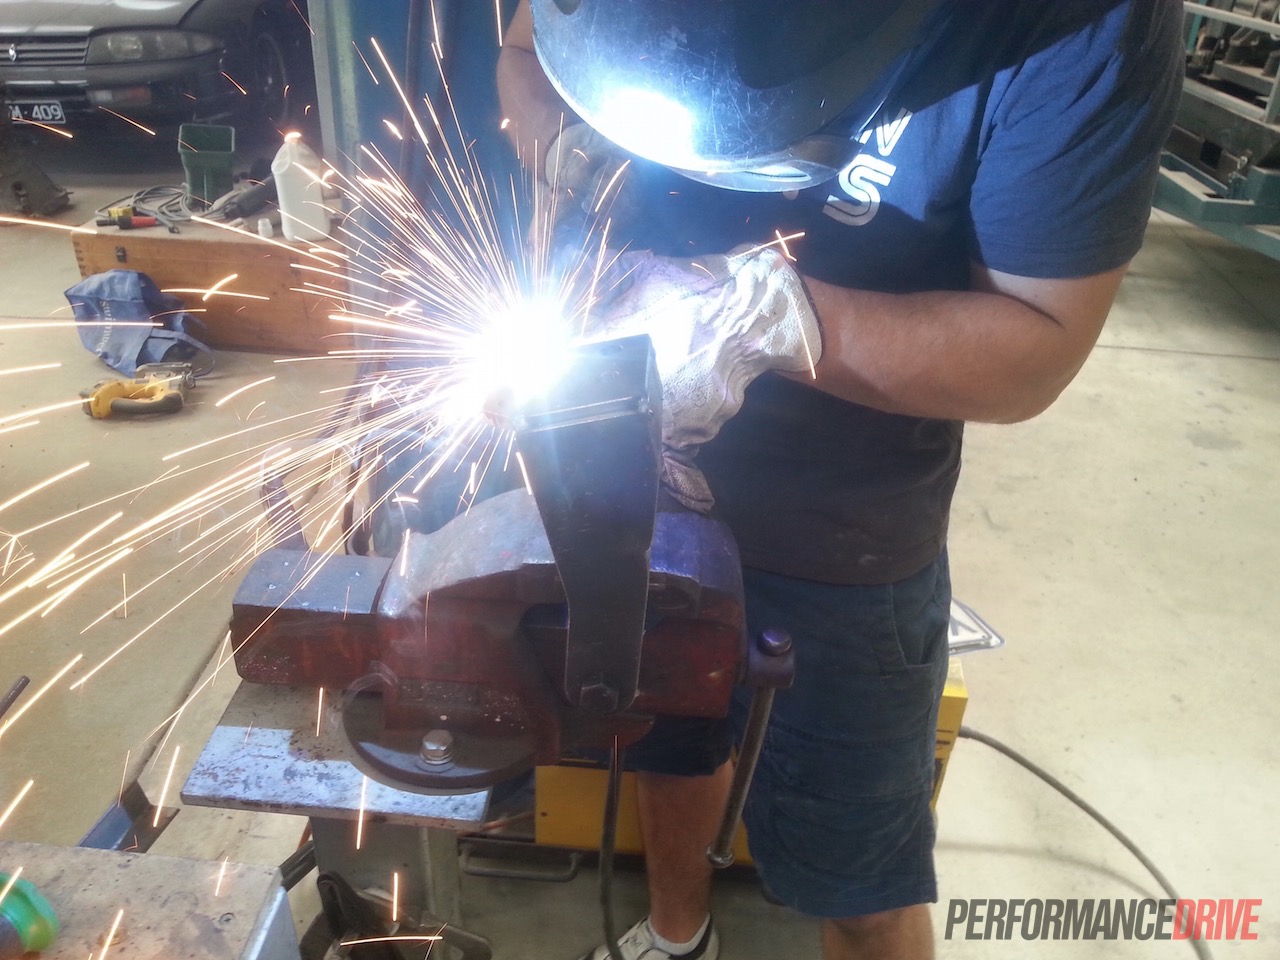
After tack welding, MIG welding finishes off the full join.
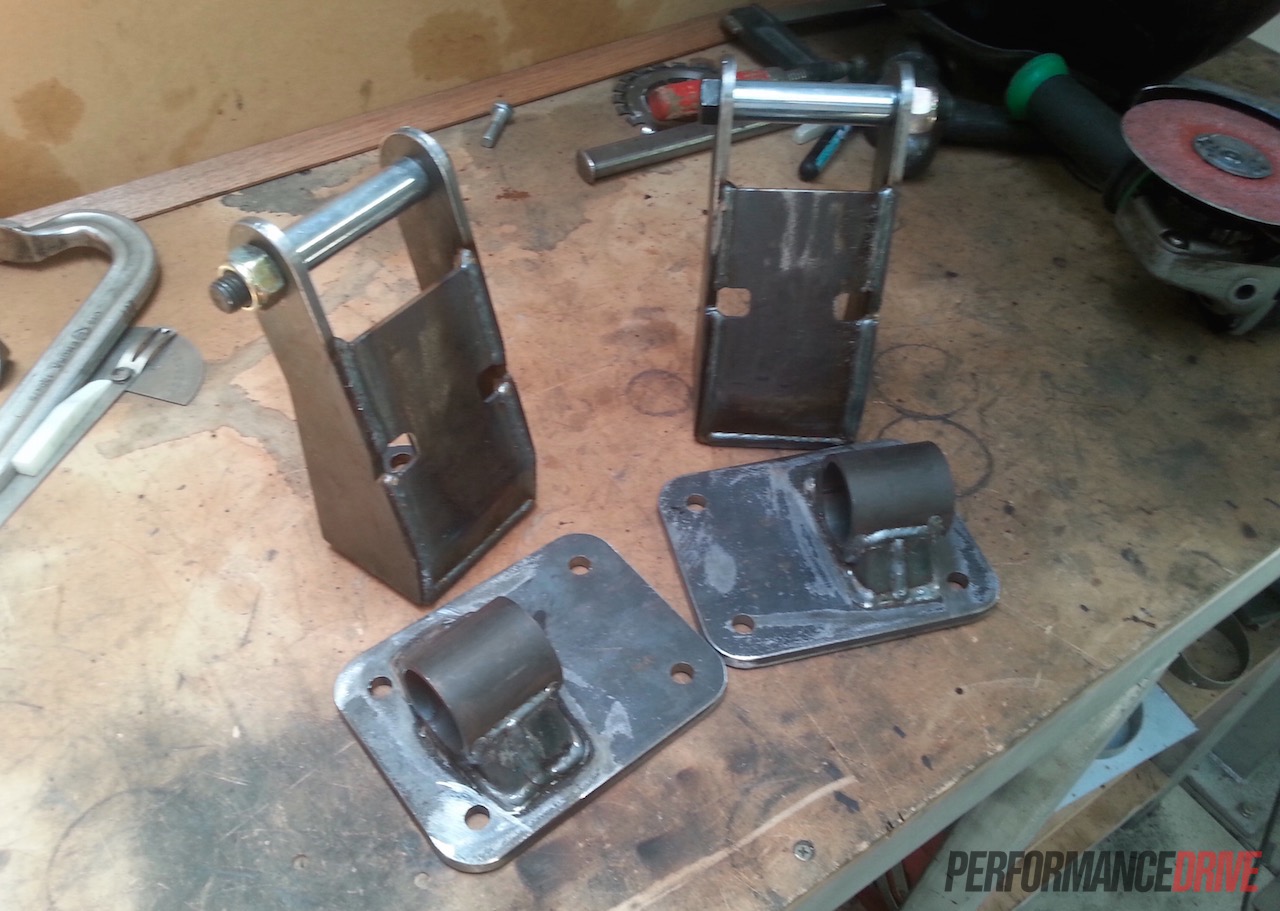
This is the freshly welded mount that will be bolted to the cross-member. We used a spacer where the bolt location is to prevent the inside being too small and not allowing the installation of the bushing later down the track.

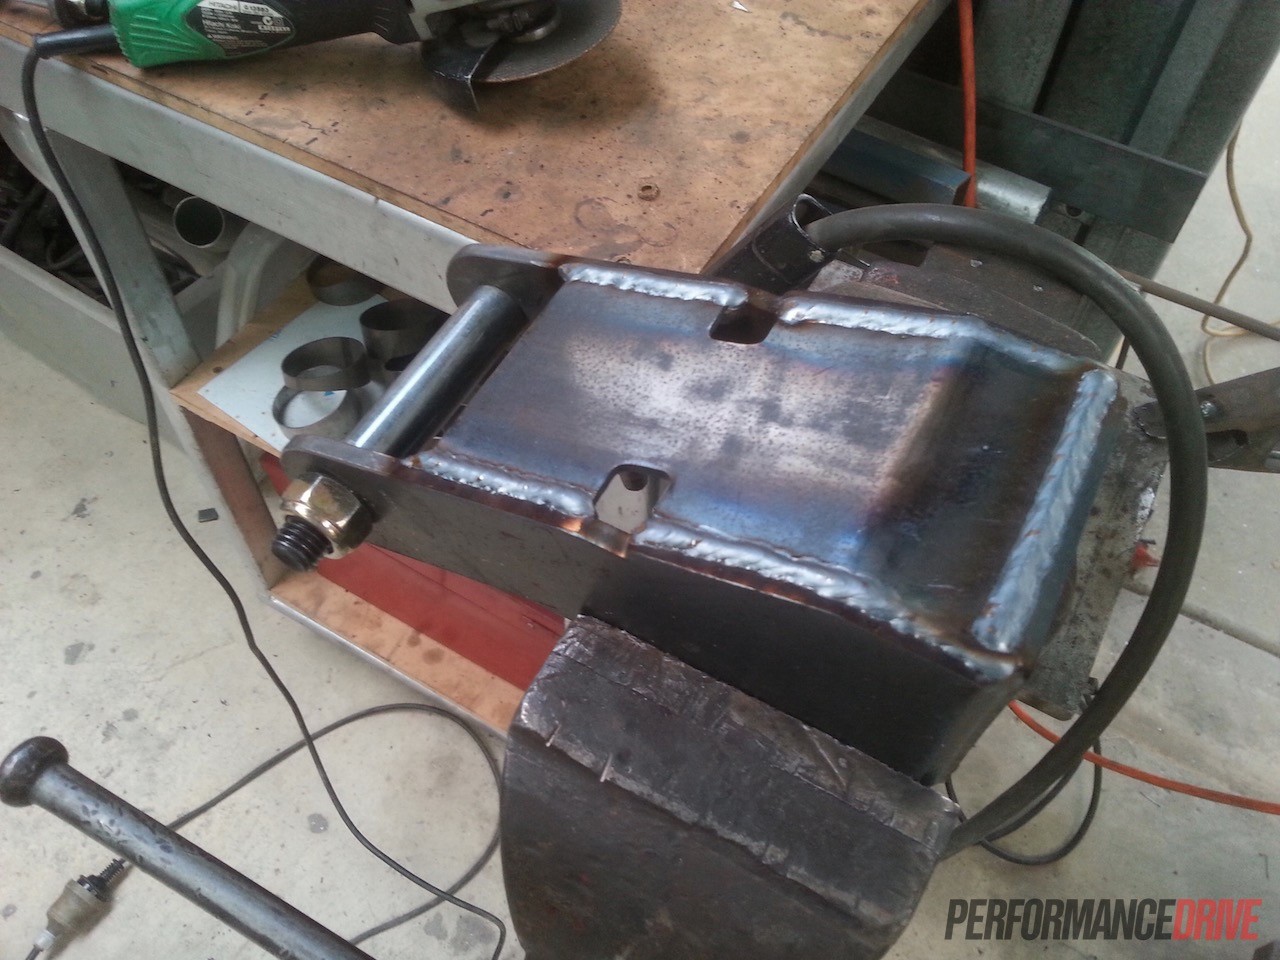
The other half of the mount set is to be bolted to the engine block. This part featured a piece of pipe where the polyurethane bushing will be located.
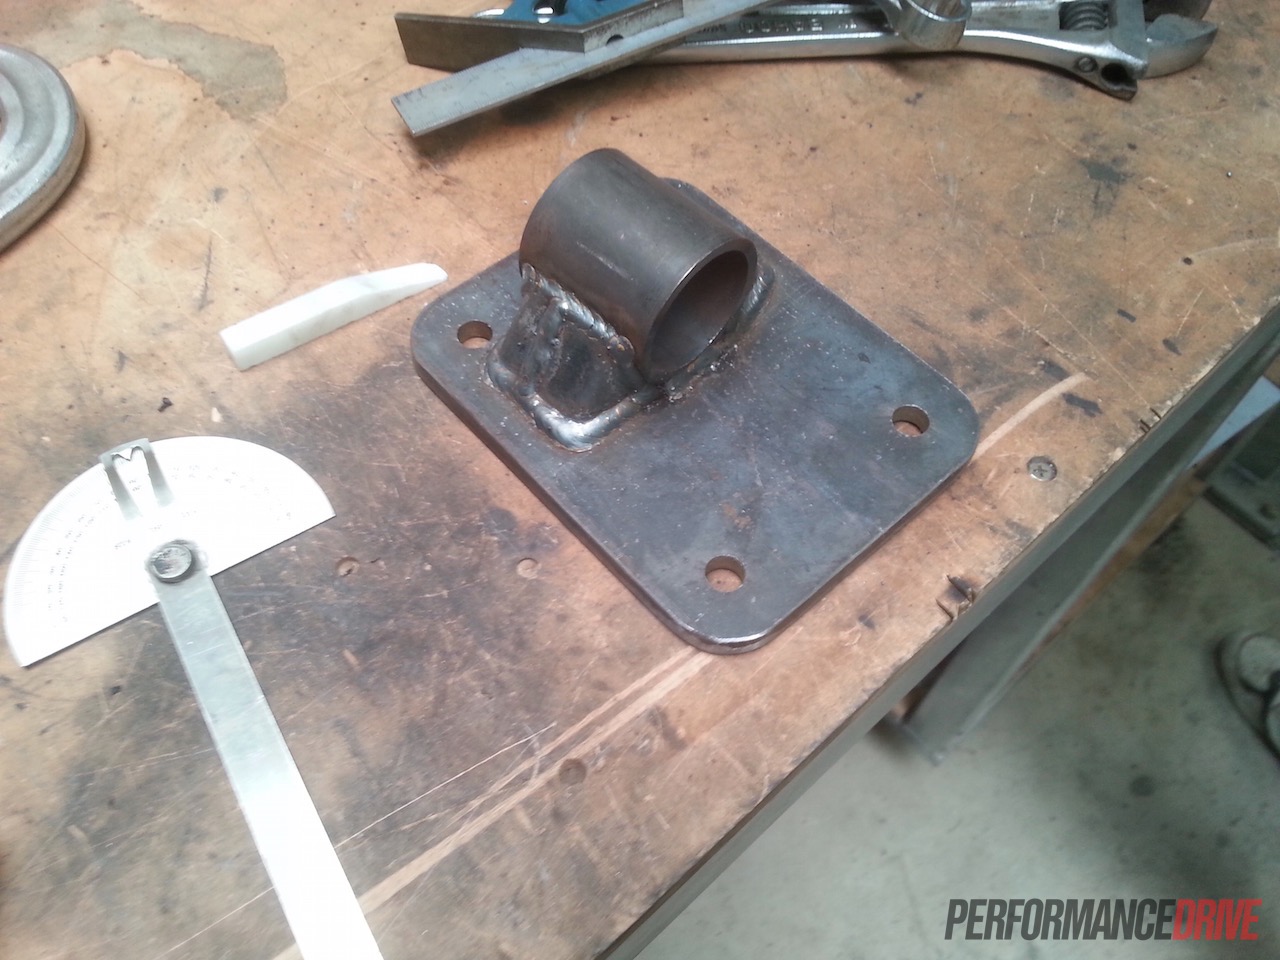
We then weld the block mounting plate.

The freshly welded mounts are now ready for paint and ready to support the LS1 engine.
Don’t be fooled, it might look easy as pie to produce a set of mounts for an engine conversion. But producing a set of mounts that allow for correct engine positioning and fitment is the main factor why engine conversion mounts cost so much. It’s because of the development and thought that is invested in their design.
These will now be used for the Volvo once the body and engine bay are painted, out at Premier Smash Repairs. The engine will go in at Volvo specialist Berry Motor Group with the four-speed automatic from the Statesman donor car.
In between the engine and transmission will be a specially built stall converter put together by Len Pendlebury at Torque Converter Industries (02 9838 7933 – convertersaustralia@gmail.com).
Stay tuned for the next stage where we’ll be preparing the new radiator and some other bits and pieces.